DIY Wedding Invitations: Complete Guide to Design and Print Under $50
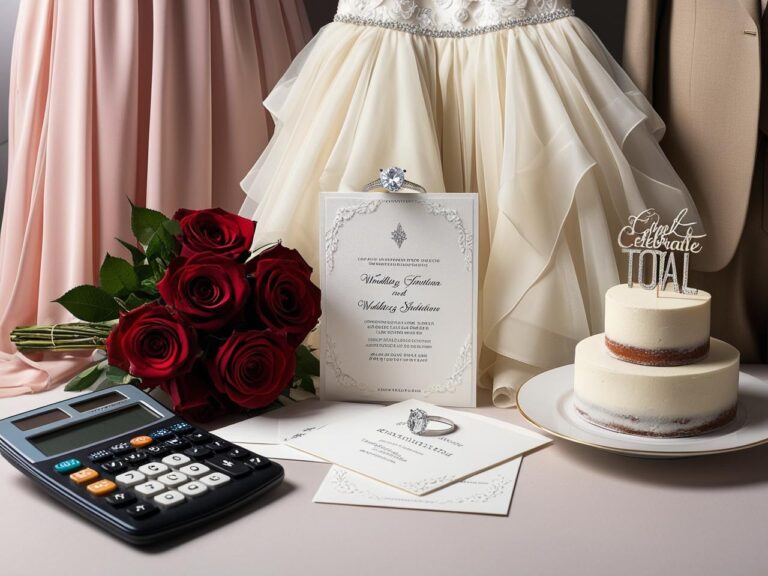
The average couple spends $530 on wedding invitations, but here’s the exciting news – you can create equally beautiful invitations for less than a tenth of that cost! I’ve helped dozens of couples design their dream invitations on a budget, and I’m thrilled to share these insider tips and tricks. From choosing the perfect paper to mastering free design tools, this guide will walk you through creating professional-looking invitations that your guests will treasure.
Essential Materials and Tools for DIY Wedding Invitations
Before diving into the creative process, let’s gather everything you’ll need. The good news? Your total investment should be well under $50! Here’s your shopping list:
For basic invitations (100 count):
- 110lb cardstock (250 sheets): $15
- Envelopes (100 count): $12
- Printer ink: $10-15
- Design software: Free (Canva)
- Basic paper cutter: $8
- Total: Approximately $45
Pro tip: Purchase a few extra sheets of cardstock for practice runs and potential mistakes. Nothing’s worse than running out of paper at the last minute!
Designing Your Wedding Invitations Like a Pro
Creating professional-looking invitations doesn’t require a design degree. Here’s how to craft beautiful invitations using free tools:
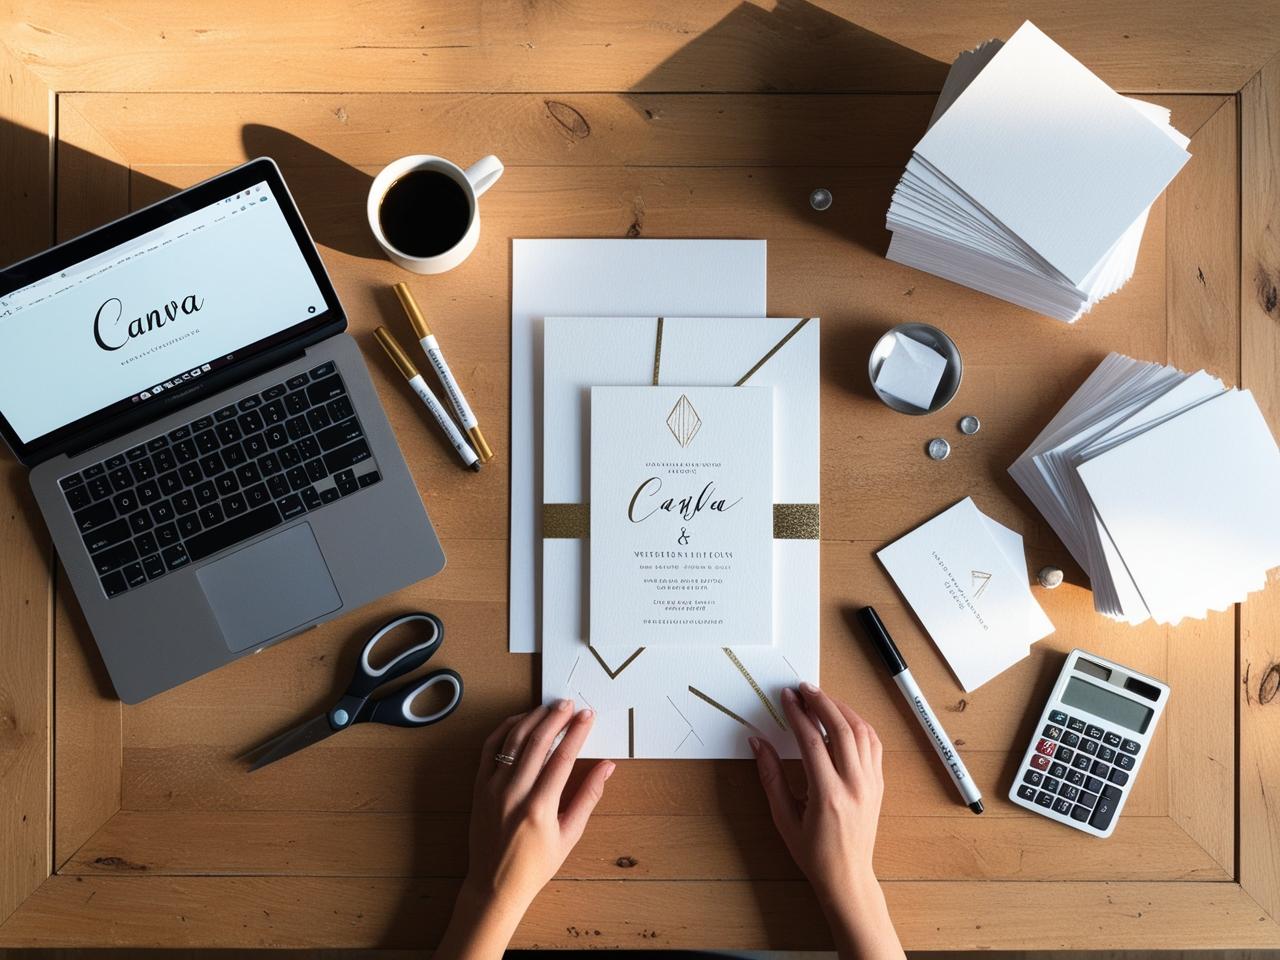
- Start with Canva website and create a free account: Navigate to their wedding invitation templates and choose a design that matches your style. The best part? Most templates are completely free!
- Choose your typography:
- Main title: Select a decorative font for your names
- Body text: Use a clean, readable font for details
- Limit yourself to 2-3 font styles maximum
- Trending color combinations:
- Sage green and ivory
- Dusty blue and silver
- Terracotta and cream
- Classic black and white
Remember to save your design in high resolution (at least 300 DPI) for crisp printing.
Money-Saving Tricks for Premium-Looking Invitations
Want to add luxury touches without breaking the bank? Try these clever hacks:
- Use metallic markers ($3) instead of foil printing ($200+)
- Create your own envelope liners using decorative paper ($5 per pack)
- Print multiple invitations per page and cut them down to size
- Choose standard sizes to avoid extra postage costs
- Skip inner envelopes and use vellum overlays instead
Printing Methods and Options
Home printing can yield professional results if you follow these steps:
- Printer settings:
- Select “Best Quality” or “Photo”
- Choose the correct paper weight setting
- Print a test page first
- Clean printer heads before starting
- Paper handling:
- Load one sheet at a time for thick cardstock
- Allow each print to dry completely
- Handle printed invitations by the edges only
Assembly and Finishing Touches
Create an efficient assembly line system:
- Cut all invitations to size
- Score fold lines using a bone folder
- Add any embellishments
- Stuff envelopes
- Address envelopes (use a template guide for straight lines!)
Quality Control Tips:
- Check each invitation for smudges or imperfections
- Verify all text is centered and aligned
- Ensure consistent color matching across batches
- Double-check spelling and dates
Real-World Timeline
Start your DIY invitation journey 4-6 months before the wedding:
- Month 1: Design and order supplies
- Month 2: Test prints and adjustments
- Month 3: Print final invitations
- Month 4: Assembly and addressing
- Month 5: Mail out (7-8 weeks before wedding)
Discover more budget-saving tips: How to Plan a Dream Wedding on a Budget: A Money-Saving Guide
Conclusion
Creating your own wedding invitations doesn’t just save money – it adds a personal touch that makes your special day even more meaningful. With these techniques and tips, you’ll be able to design and print invitations that look like they cost hundreds while staying under $50. Remember, the key is planning ahead and taking time to practice before working with your final materials.
Pro Tip: Keep one invitation completely untouched and unwrapped for your photographer to capture on your wedding day – it’s a beautiful detail that adds to your wedding memories! Happy crafting!