DIY Wedding Invitations: Complete Guide to Design and Print Under $50
Design and print professional DIY wedding invitations for under $50. Complete guide covers cardstock weights, home printer settings, envelope sizes, and costs.
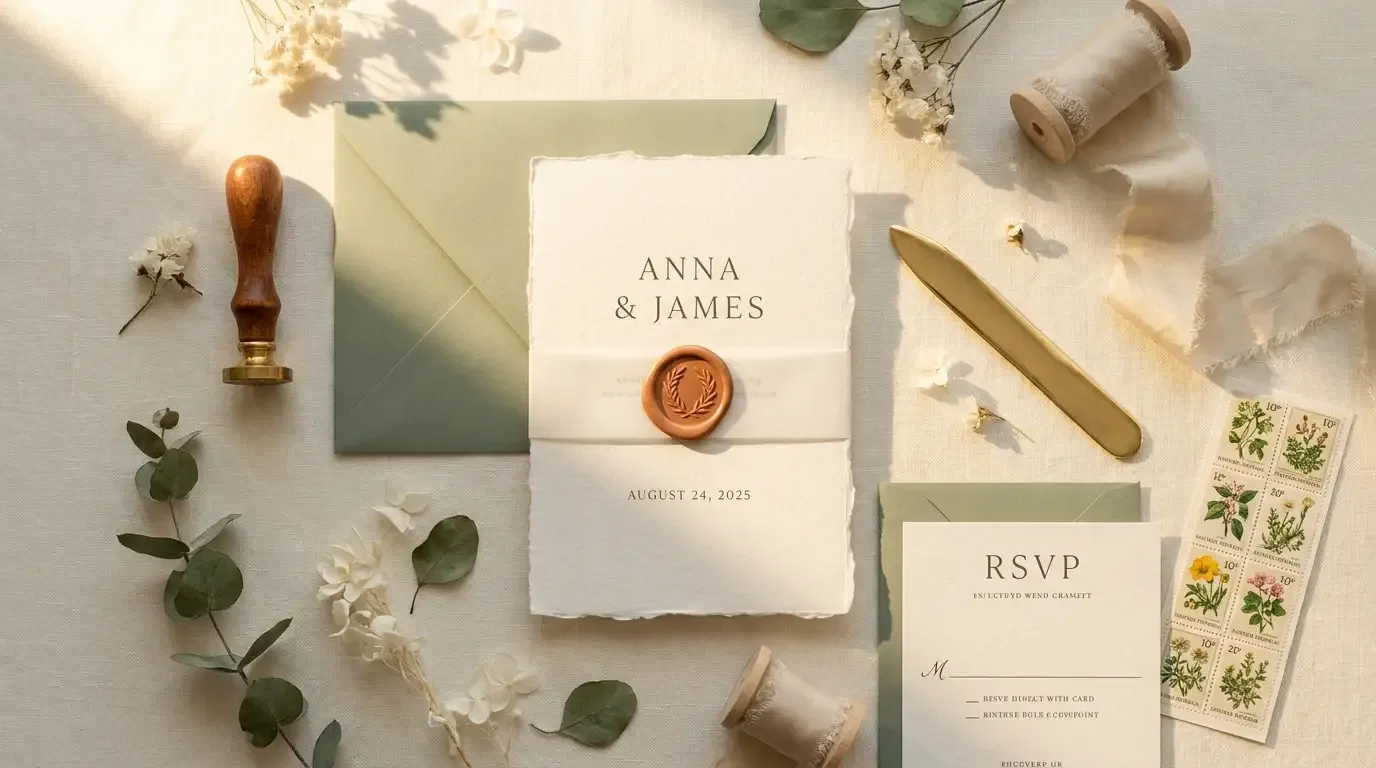
Commercial stationery studios charge between $450 and $850 for a standard hundred-piece invitation suite. Crafting your own invitations at home drops that total cost below $60 while giving you direct control over typography, paper textures, and custom colors.
A DIY wedding invitation suite is a custom stationery set composed of an invitation card, RSVP card, details insert, and envelopes designed and printed at home for a fraction of commercial costs.
If you are coordinating other handcrafted details for your celebration, pair this tutorial with our budget wedding planning guide, our step-by-step tutorial on DIY wedding bouquets, and our guide on wedding guest list management.
Key Takeaways
- Expect to spend $45 to $85 to print 100 DIY invitation suites at home, saving $400 to $600 over boutique stationery studios.
- Choose 100lb to 120lb cover cardstock (270 to 325 GSM) with a smooth matte or linen finish for a firm hand feel.
- Use a rear-loading inkjet printer with a straight paper path to prevent thick cardstock from curving or jamming.
- Standard invitation cards measure 5x7 inches (A7), which fit into 5.25x7.25-inch A7 mailing envelopes.
- Bring an assembled invitation suite to the post office for weight and thickness checks before purchasing stamps.
Essential Materials and Tools for DIY Wedding Invitations
Gather your tools and paper stock before opening your design program. Sourcing materials in bulk packages reduces unit costs:
- 100lb to 120lb Cover Cardstock (250 sheets): $18–$24. Yields two 5x7 cards per 8.5x11-inch sheet.
- A7 Mailing Envelopes (100 pack): $14–$20. Choose 70lb or 80lb text-weight paper with Euro pointed flaps.
- A1 or A2 RSVP Envelopes (100 pack): $10–$14. Sized to fit inside the outer A7 envelope without folding.
- Rotary Paper Trimmer or Craft Knife: $10–$16. Delivers square, crisp cut edges without the jagged tears of scissors.
- Metal Ruler & Self-Healing Cutting Mat: $8–$12. Protects tabletops and ensures straight blade alignment.
- Bone Folder Tool: $5–$7. Scores clean fold lines on folded cards and envelope liners.
- Inkjet Printer with Rear Feed: Home hardware using pigment or dye inks with manual straight-feed trays.
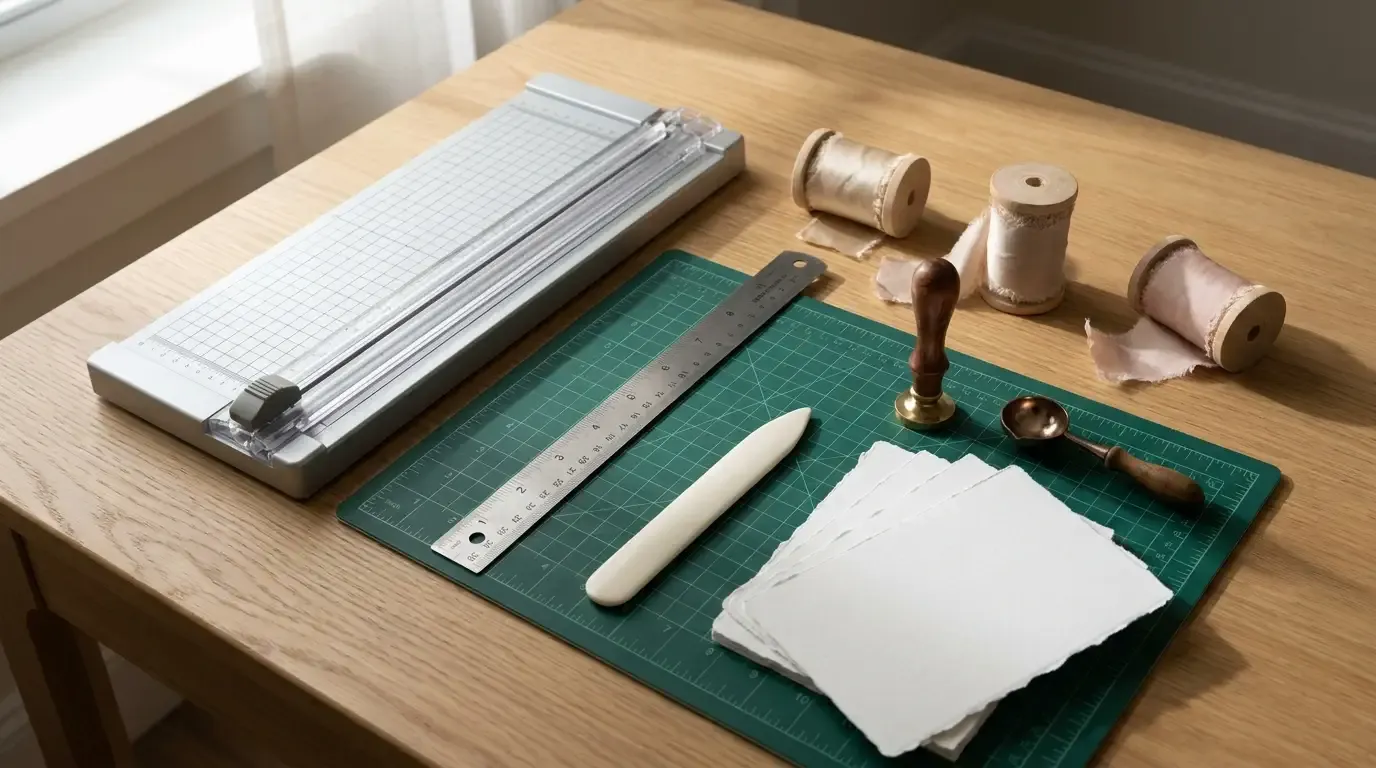
Essential DIY invitation supplies: heavy cardstock, rotary paper trimmer, bone folder, and silk ribbon arranged for production.
Wedding Invitation Paper & Sizing Guide
Cardstock weight and card dimensions determine how professional your stationery feels in hand. Use this reference guide to match each suite insert with its standard dimensions:
| Suite Insert | Dimensions | Best Paper Weight | Finish Recommendations |
|---|---|---|---|
| Main Invitation Card | 5” x 7” (A7) | 100lb–130lb Cover (270–350 GSM) | Cotton or smooth matte |
| RSVP / Reply Card | 3.5” x 5” (A1) | 100lb–110lb Cover (270–300 GSM) | Uncoated matte (absorbs ink from ballpoint pens) |
| Details / Reception Card | 4.25” x 5.5” (A2) | 80lb–100lb Cover (216–270 GSM) | Smooth matte or translucent vellum overlay |
| Outer Mailing Envelope | 5.25” x 7.25” (A7) | 70lb–80lb Text (105–120 GSM) | Euro flap or deep pointed flap in neutral tones |
| RSVP Return Envelope | 3.625” x 5.125” (A1) | 70lb–80lb Text (105–120 GSM) | Pre-addressed to the hosts with return stamp |
Designing Your Wedding Invitations
You do not need graphic design software subscriptions to produce elegant layouts. Free tools like Canva provide production-ready templates.
1. Set Proper Document Dimensions and Bleed Margins
Create a custom canvas sized to 5.25 x 7.25 inches. The extra 0.125 inches on all four sides creates a print bleed. Background patterns and floral illustrations must extend to this outer edge so trimming does not leave white hairline borders. Keep all text, names, and vital dates at least 0.25 inches inside the finished cut line.
2. Establish Clear Typographic Hierarchy
Limit your design to two font families to keep the card clean and legible:
- Hero Font (Couple Names): An expressive modern calligraphy or classic serif font set at 28 to 36 points.
- Supporting Font (Dates, Venues, Details): A clean sans-serif or transitional serif set at 9 to 11 points with loose letter-spacing.
- Contrast Check: Print a test sheet on plain paper. Script fonts that look clear on desktop monitors can become unreadable at small sizes when printed on textured paper.
3. Choose Timeless Color Palettes
Keep background tones light to conserve printer ink and maintain high text contrast:
- Classic Neutral: Warm ivory background, charcoal typography, and champagne ribbon wraps.
- Botanical Sage: White cardstock, olive text, and sage green envelope liners.
- Terracotta & Cream: Soft almond cardstock, terracotta text, and bronze wax seals.
- Monochrome Modern: Ultra-white linen cardstock with jet black typography.
Export final artwork as a PDF Print file set to CMYK color profile and 300 DPI resolution. Do not print from compressed JPEG files.
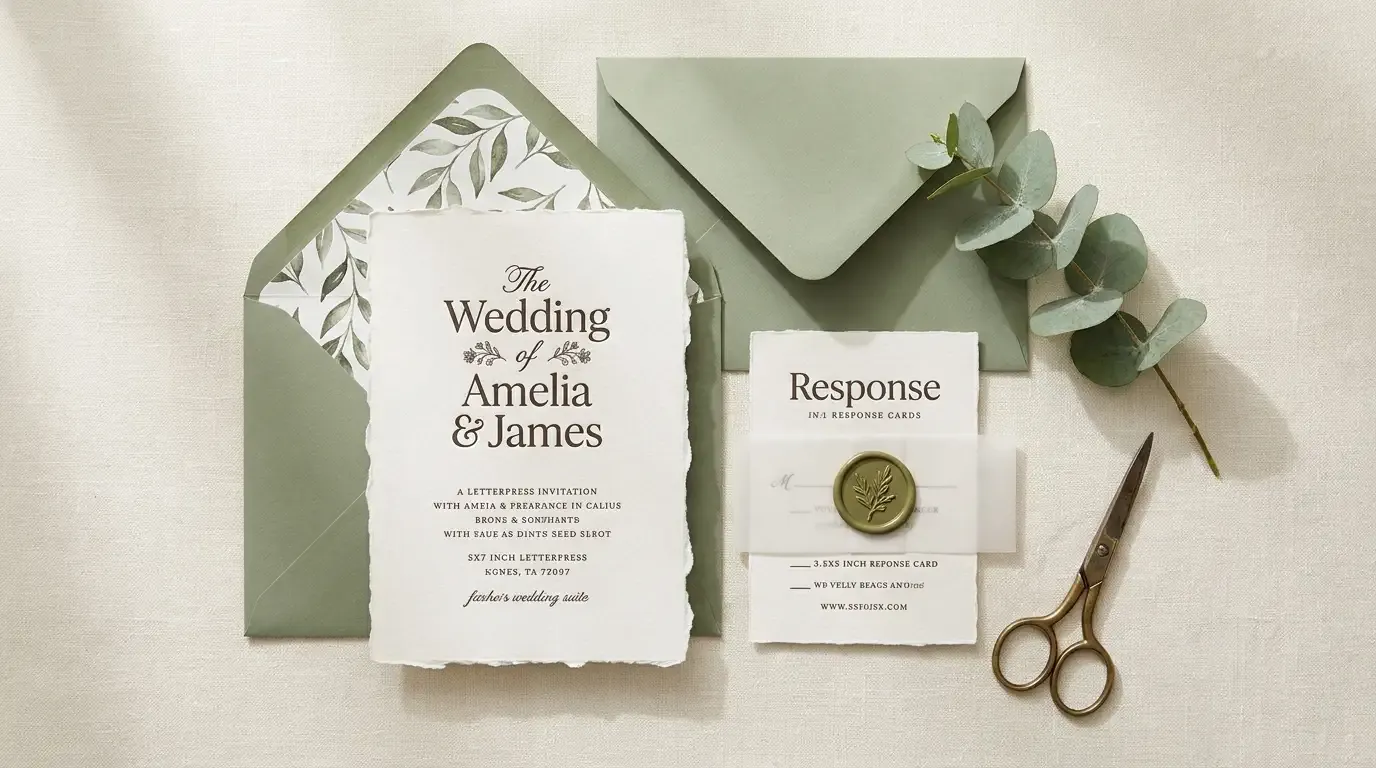
Botanical wedding invitation suite styled with sage green envelopes, patterned liners, and wax seal accents.
Home Printing vs. Professional Print Shops
| Production Method | 100 Finished Suites | Pros | Cons |
|---|---|---|---|
| DIY Home Inkjet | $45–$75 | Immediate control; zero shipping wait; cheap revisions | Manual cutting required; ink cartridges run out fast |
| Local Print Shop (FedEx/Staples) | $90–$140 | Fast industrial cutting; handles heavy cardstock | Color matching varies; staff cannot assist with design |
| Online Print Lab (Cards & Pockets) | $140–$210 | Archival digital presses; exact sizing and scoring | 5–10 day turnaround; higher shipping costs |
| Custom Stationery Studio | $450–$850+ | White-glove assembly; custom foil stamping; zero effort | High expense; fixed turnaround schedules |
Home Printing Rules for Crisp Typography
Follow these hardware steps to avoid paper jams and streaked text:
1. Use the Rear Straight Paper Feed
Standard bottom paper cassettes pull sheets through an internal U-turn roller, which causes thick 100lb+ cardstock to bend or jam. Feed cardstock through your printer’s rear manual tray so the paper travels straight through the print head.
2. Calibrate Printer Driver Settings
Open your computer printer dialog box before hitting print:
- Set Paper Type to Heavy Cardstock or Matte Presentation Paper.
- Set Output Quality to High or Best.
- Turn off High Speed Printing (bidirectional printing) to prevent faint horizontal streaks.
3. Run Single-Sheet Test Prints
Print one sample card on your selected cardstock. Inspect the ink with a magnifying glass or phone camera. Look for ink bleeding along paper fibers or ink smearing. Allow test prints two minutes of drying time before touching the surface.
Precision Trimming and Assembly Workflow
An organized cutting station produces professional invitations with crisp edges:
- Print 2-Up on Letter Sheets: Lay out two 5x7 cards on one standard 8.5x11-inch sheet. Include crop marks at each corner to guide your blade.
- Trim with a Rotary Cutter or Craft Blade: Line up your metal ruler with the crop marks. Cut inward without cutting past the edges of the sheet so remaining crop marks stay intact for subsequent passes.
- Score Envelope Liners and Folds: Use your bone folder against a metal straight edge to impress a groove into paper before folding. Scoring compresses paper fibers and prevents cracked paper seams.
- Stack Inserts in Size Order: Lay the main 5x7 invitation at the back, followed by the details card, and place the pre-stamped RSVP card and envelope on top.
- Secure with Bands or Twine: Wrap the assembled stack with vellum belly bands or silk ribbon before sliding the suite into the outer envelope.
Postage, Addressing, and Postal Guidelines
Stationery mistakes at the post office can result in returned envelopes or damaged cards. Follow these postal steps:
- Check Weight Limits: One standard Forever stamp covers up to one ounce. Suites with multiple heavy inserts often weigh 1.1 to 1.3 ounces, requiring extra ounce postage.
- Account for Non-Machinable Envelopes: Envelopes with wax seals, square profiles, or rigid inserts cannot pass through automatic postal sorters. You must add a non-machinable surcharge stamp to prevent envelopes from jamming or tearing in transit.
- Request Hand-Canceling: Take your finished, stamped envelopes directly to the postal counter and ask the clerk to hand-cancel the postage stamps. Hand-canceling uses a manual rubber stamp instead of high-speed sorting rollers, preserving your envelopes and wax seals.
- Address Formatting: Print guest addresses using a laser printer or waterproof pigment pen. Hand-lettered calligraphy inks must be waterproof so rain or humidity does not smudge recipient details.
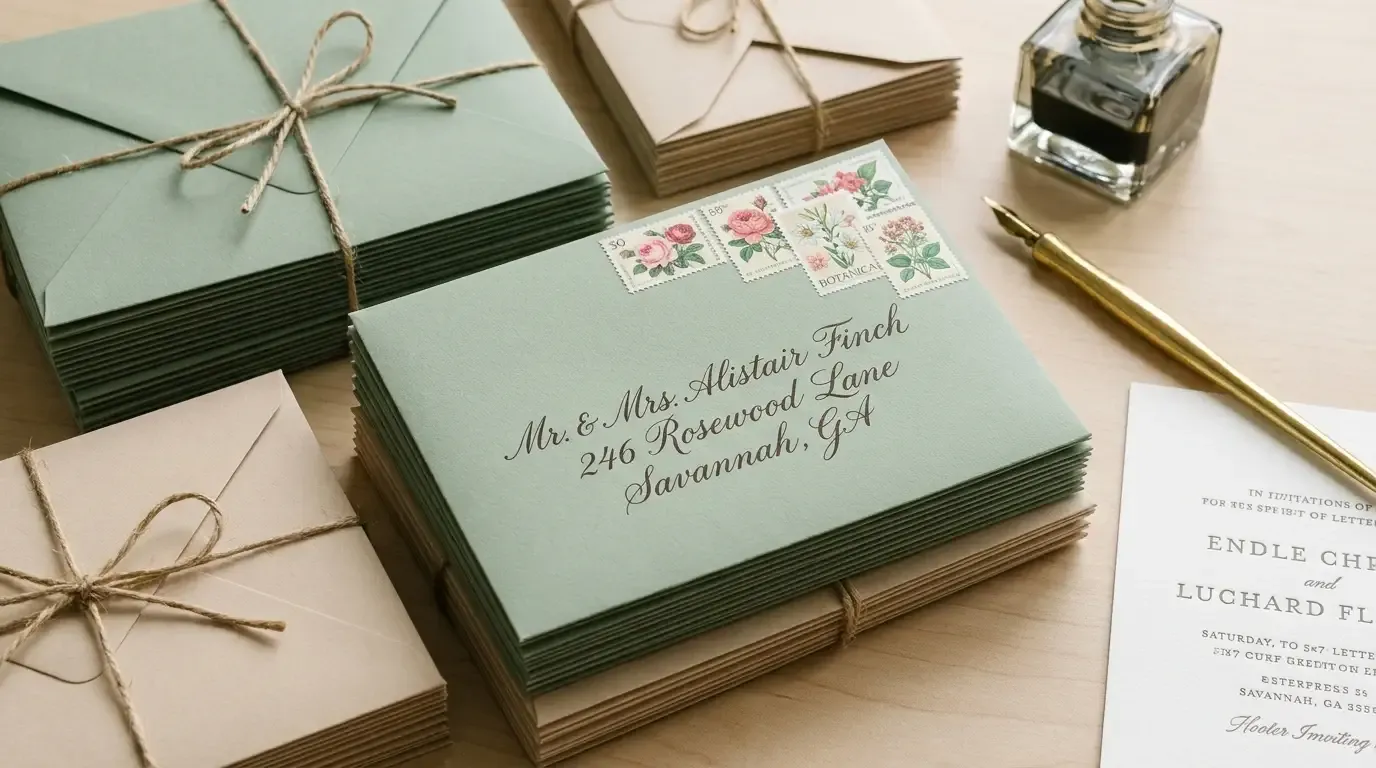
Finished invitation suites assembled with custom ribbons, hand-addressed envelopes, and vintage postage stamps.
Real-World Production Timeline
Start your DIY stationery project four to six months before your wedding date:
- Month 1: Finalize wedding date and venue address. Order sample cardstock swatches and test envelopes.
- Month 2: Build your design in your layout program. Order all paper stock, trim blades, and ink cartridges.
- Month 3: Print test samples. Run final production prints and trim all cards to size.
- Month 4: Assemble invitation suites, attach embellishments, address outer envelopes, and weigh one suite at the post office.
- Month 5: Mail invitations eight to ten weeks before the wedding (ten to twelve weeks for destination weddings).
Save one unmailed invitation suite for your wedding photography shot list so your photographer can style stationery flat lays on the morning of your wedding.
Frequently Asked Questions
What weight cardstock is best for DIY wedding invitations?
Use 100lb to 130lb cover cardstock (270 to 350 GSM) for the main invitation card. Paper under 80lb feels flimsy, while sheets over 130lb can jam standard home printers unless the machine has a straight rear feed path.
Can I print wedding invitations on a regular home printer?
Yes. An inkjet printer with a rear-feed tray handles heavy cardstock without curving. Select 'Heavy Cardstock' or 'Photo Matte' print settings and set the resolution to 300 or 600 DPI for sharp text.
What size are standard wedding invitations and envelopes?
Standard wedding invitations measure 5x7 inches (A7 size) and pair with an A7 envelope measuring 5.25x7.25 inches. Response cards use A1 (3.5x5 inches) or A2 (4.25x5.5 inches) cards and envelopes.
How much postage do DIY wedding invitations require?
Standard 5x7 invitation suites weighing under one ounce take one standard forever stamp. Suites with wax seals, ribbons, extra inserts, or rigid cardstock require a non-machinable surcharge stamp because postal machines cannot feed uneven envelopes.
